Basic Principles
Introduction to Cheese Making
Making cheese at home is fun and easy and consists of the following basic steps.
- Inoculating and ripening your milk
- Coagulation of the cheese milk
- Draining and flavouring
- Moulding and pressing
- Drying, ripening or ageing, and eating.
Making your own butter, yoghurt and cheese is just another form of preserving the harvest.
Milk, much like other food, is in abundance at certain times of the year and our ancestors had to preserve this abundance for the leaner times. Whether your milk comes from goats or cows, an animal can only give milk for so long before they need to be "freshened". Freshening is the term used when you breed your animal for the purpose of freshening your milk supply.
After a goat has had a kid it will give plentiful milk for months to come, but eventually, nature will start to reduce this milk supply and you will have to breed your goat again. When this happens you will have to let her dry off (not milk her) as she will need her energy to produce her offspring. Most animals have particular breeding seasons so you can see that even if you have more than one goat or cow, there is a good likelihood that at one time of the year you will have all your animals producing lots of milk and at other times you will have much less production from your animals or none at all.
So what do you do with all that milk when you have it and how do you ensure you can enjoy it when your cow or goat is not available to be milked? You make cheese and yoghurt of course. Yoghurt will make your milk last weeks longer and is very easy to make. Cheese will of course last much longer, many weeks and even months.
Today we can just go down the road and buy milk at all times of the year so we do not need to make cheese, but personally, it is one of my favourite foods and it is much cheaper to buy milk than it is to buy cheese. In addition, cheese making is so much fun and very rewarding.
When I first started making cheese, like many people, I began with soft cheeses.
Soft cheeses are easy to make (even the children do it) and the rewards are instant; you get eat the soft cheese the day it is made. I love to add herbs and eat it as a dip with crackers or use it as a spread on sandwiches. There are also plenty of recipes that call for soft cheeses. Most recipes call for the use of cultures, and rennet, but here is a soft cheese that you can do at home with ingredients you can find in most kitchens.
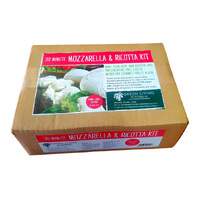
Our Soft Cheese Kit is the perfect starting point for anyone looking to make beautiful cheeses that can be eaten right away!

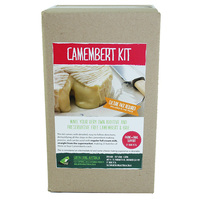
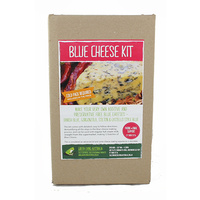
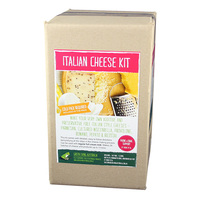
Hard cheese making is a more complicated process, with several steps and you will need some specialized equipment and ingredients. The process is not hard, but step by step, easy to follow instructions are essential.
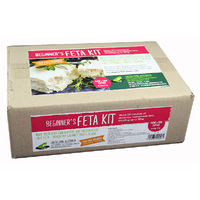
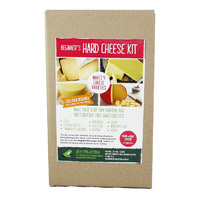
Check out the Green Living Australia Hard Cheese Kit which makes nine delicious, homemade cheeses: Farmhouse Cheddar, Gouda, Monterey Jack, Feta, Cottage Cheese, Colby, Cotswold, Leicester, and Ricotta.

A summary of "cheese making"
Here is a very simple explanation of the process, using special cheese cultures and rennet, a dairy coagulant.
The culture (bacteria) when added to warm milk eat the lactose in milk, which is a sugar, turning it into lactic acid, making the milk more acidic. Once the culture has had time to do its job rennet is added to the milk to form the curd. The curds are separated from the whey and pressed into a mould to make the cheese, which is then stored to mature.
The bacteria then continue to work during the maturation process, albeit slower due to the lower temperature; 12° C is ideal. As the cheese ages, the flavour continues to develop. That is why three-month-old cheese does not taste as strong as six-month-old cheese.
Different cultures make different cheeses, Mesophilic cultures thrive at moderate temperatures & Thermophilic cultures at high temperatures .... and there are many strains of culture within these two "families".
Cultures work in two ways; Direct Inoculation and Mother.
Mother Cultures are made in advance. You incubate the milk that you are going to use to make your Mother Culture with the freeze-dried culture and let it sit for 15 to 24 hours. Once you have made your mother culture you can tip it into ice cube trays and freeze them for future use or use right away.
Direct Inoculations Cultures are added right into the milk, with no need for time-consuming preparation of making a Mother Culture. This saves you time and means that if you are a city dweller, or working full time, you can get up on Saturday morning and decide to make cheeses and just get started. I recommend Direct Inoculation Culture for anyone just starting out in cheese making. I have continued to use Direct Inoculation, as I work full time and the Direct Inoculation method suites my busy lifestyle.
But where do you get milk for cheese making in the city?
I use have used homogenised and pasteurised milk straight from the supermarket, as well as non-homogenized milks that are now readily available. Due to the milk being pasteurised and then refrigerated, I do need to add some Calcium Chloride. The scientific reason why is fully explained in my book, Home Cheese Making in Australia.
Those that have access to fresh, organic milk from their own cows or goats, who pasteurise their own milk and make cheese immediately, are to be envied, but it is most certainly not a prerequisite for making cheese successfully.
Calcium Chloride, Rennet, Direct Inoculation Cultures and everything else you will need, including a Dairy Thermometer are all in our Hard Cheese Making Kit. I have written the instructions myself making them easy to follow. We are only an email away if you have any questions.
Just like everything else, the more cheese you make, the better you get at it ... so why not have a go?